 I have seen this called a 'flange' on your binding, or faux 'piping' but I call it 2-toned and use it on all my quilts - like a signature. It takes a little extra time preparing the binding, but doing the whole thing by machine makes the overall time much less.
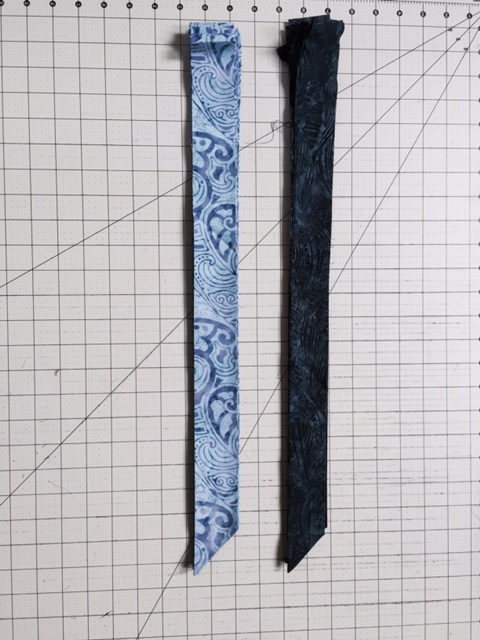
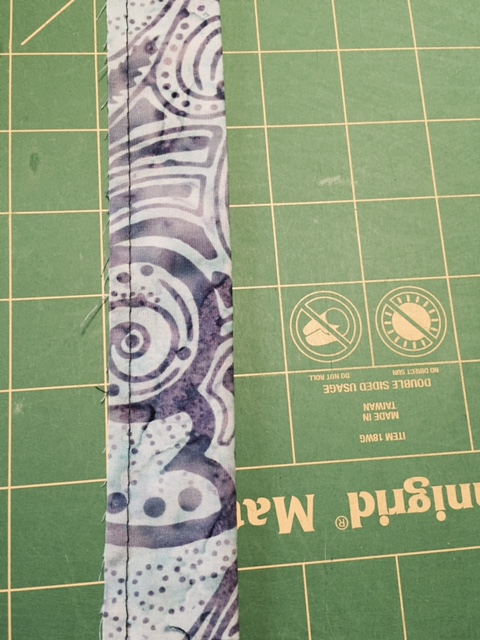
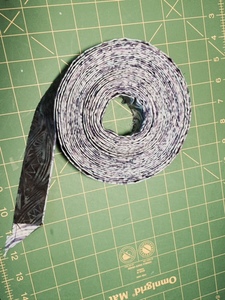
First select your two fabrics. The inside binding is what makes the 'piping' and is the larger piece. Cut enough width of fabric to go around your quilt plus extra. The strip width is 1-3/4". The fabric should accentuate whichever color you want to pop in your quilt. Join your pieces end to end at 45 degree angles so you don't have a big bump at the joints. Press your seams open Next cut your outside binding strips. These are 1-1/2" wide. Also join them end to end and press seems open. Sew the two strips together and press very flat with seams going towards the smaller piece - the outside binding fabric.
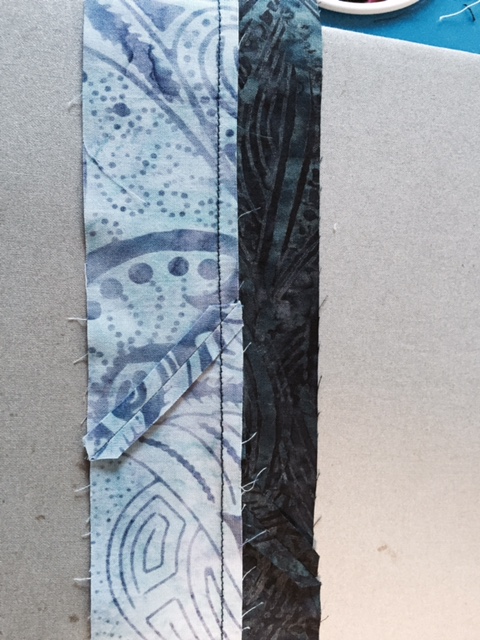
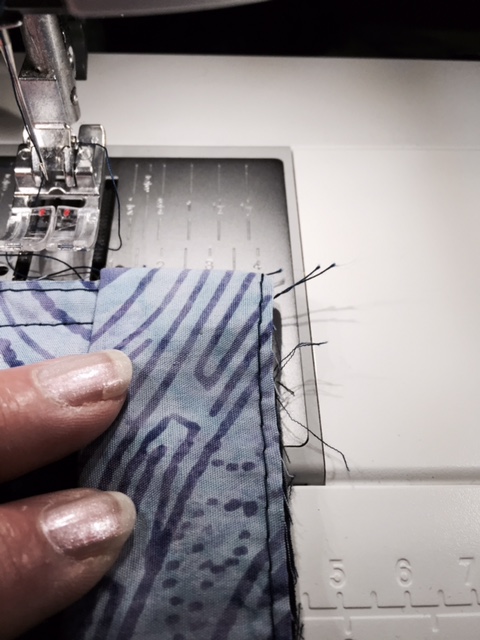
Next fold in half and press again. I seldom get a perfect 1/4" seam so I am very careful with the folding, adjusting to show only 1/8" of the inside binding along the top edge. I like to baste this binding to keep it from slipping when sewing to the quilt, and then trim to exactly 1-1/4". Now the binding is ready to apply to the quilt. Sew your binding to the back of the quilt with the inside facing up. I sew 3/8", not 1/4". This gives me full seam allowance in the binding, no empty spaces. At the corner, 3/8" from the edge, angle your seam towards the corner at a 45 degrees. Then fold your binding back along this angle and back down to align with the next side and the top edge.
If you can join your binding once you get all the way around using a 45 degree seam, then do it. If not, just cut straight across, making one 1/2" longer than the other, match right sides and sew a 1/4" seam. Then finish joining to the quilt.
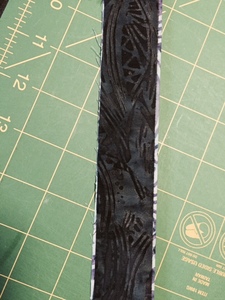
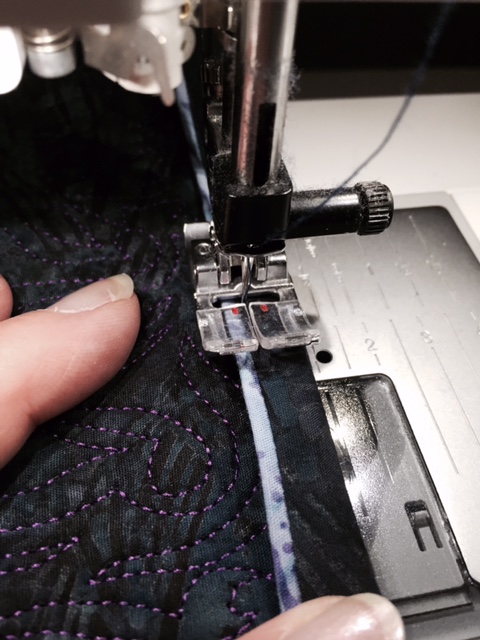
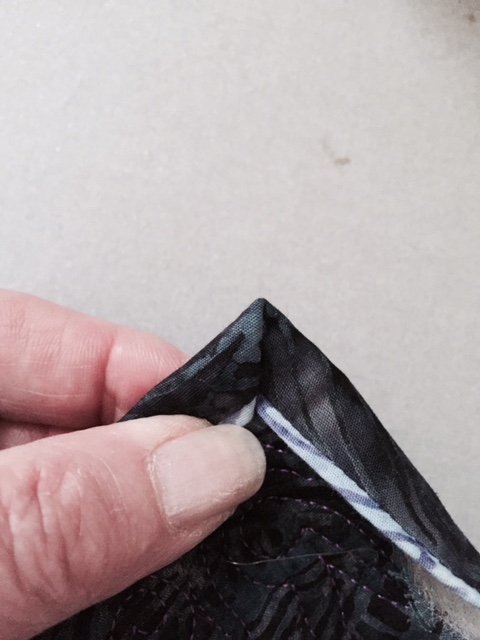
Now top stitch from the front lining up your stitch with the sewn seam, just on the outside edge of the outside binding, keeping your 'piping' loose. At the corner, trim a little of the inside to make the turn easier, fold to make a miter corner and continue stitching. That's it! Have fun!
2 Comments
|
CarlaEmail a picture of your finished project and we will post to our gallery - [email protected] Archives
December 2017
Categories |


 RSS Feed